From Makeup Novice to Contouring Confident: Master the Art of Subtle Face Sculpting with Clean Products and Simple Techniques
Posted on June 22, 2025 Written by: 100% PURE®
Contouring doesn’t have to be intimidating or require professional makeup artist skills. With the right products, tools, and techniques, you can enhance your natural bone structure and create subtle definition that looks effortless rather than obvious. Here’s your complete beginner’s guide to understanding what contour makeup is, how to apply it naturally, and which clean beauty products make the process foolproof.
What Is Contour Makeup? Understanding the Basics
Before diving into application techniques, it’s essential to understand what contouring actually accomplishes and why it’s become such a popular makeup technique. Many beginners feel overwhelmed by contouring because they associate it with dramatic Instagram transformations, but the reality is that effective contouring can be incredibly subtle and natural-looking.
Define Contouring: The Art of Light and Shadow To define contouring in its simplest terms: it’s the practice of using darker and lighter shades to create the illusion of depth and dimension on your face. Just as natural light and shadow define your facial features throughout the day, strategic makeup application can enhance or create these same effects.
Contouring works by mimicking how light naturally hits your face. Areas that naturally recede into shadow (like the hollows of your cheeks, temples, and jawline) are enhanced with darker shades, while areas that naturally catch light (like the center of your forehead, bridge of your nose, and cheekbones) are highlighted with lighter shades.
The Psychology Behind Face Sculpting What is contour makeup really doing beyond just adding color? It’s creating optical illusions that can make certain features appear more prominent while others recede. This technique can help balance facial proportions, define bone structure, and create the appearance of more angular or lifted features.
The key to successful contouring is subtlety. The goal isn’t to completely change your face shape but to enhance your natural features and create more definition where you want it.
Natural vs. Dramatic Contouring Beginner contouring should focus on subtle enhancement rather than dramatic transformation. While social media often showcases intense contouring techniques, everyday contouring should be barely noticeable while still providing definition and structure.
This natural approach is more forgiving for beginners, requires fewer products, and creates results that look polished rather than obviously made-up.

Essential Products for Beginner-Friendly Contouring
Success with contouring starts with choosing the right products in appropriate shades. Clean beauty options like those from 100% PURE provide effective results without harsh chemicals while being gentle enough for daily use.
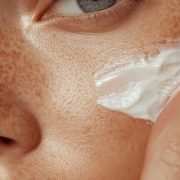
Foundation as Your Canvas Before any contouring begins, you need a proper base. The Fruit Pigmented® Cream Foundation provides the ideal canvas for contouring, offering buildable coverage that won’t interfere with your contour products while creating a smooth, even base.
This foundation’s creamy texture blends seamlessly with both cream and powder contour products, preventing the patchy or muddy appearance that can occur when products don’t work well together.
Understanding Concealer vs Foundation in Contouring Many beginners wonder about concealer vs foundation usage in contouring. While foundation creates your base, concealer serves a different purpose in the contouring process. The Fruit Pigmented 2nd Skin Concealer can be used for precise highlighting, covering any blemishes that might interfere with smooth contour application, and creating clean lines when needed.
For more intensive coverage or when you need longer-wearing results, the Fruit Pigmented® Long Last Concealer with Super Fruits provides additional coverage that won’t disturb your contour work throughout the day.
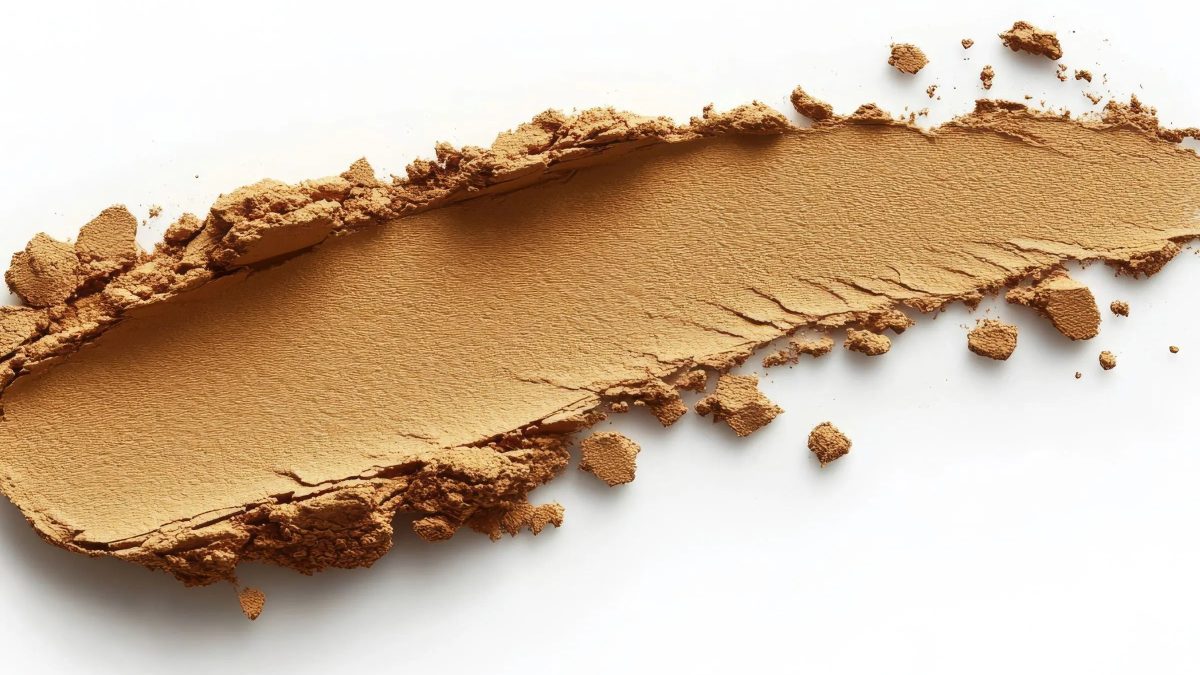
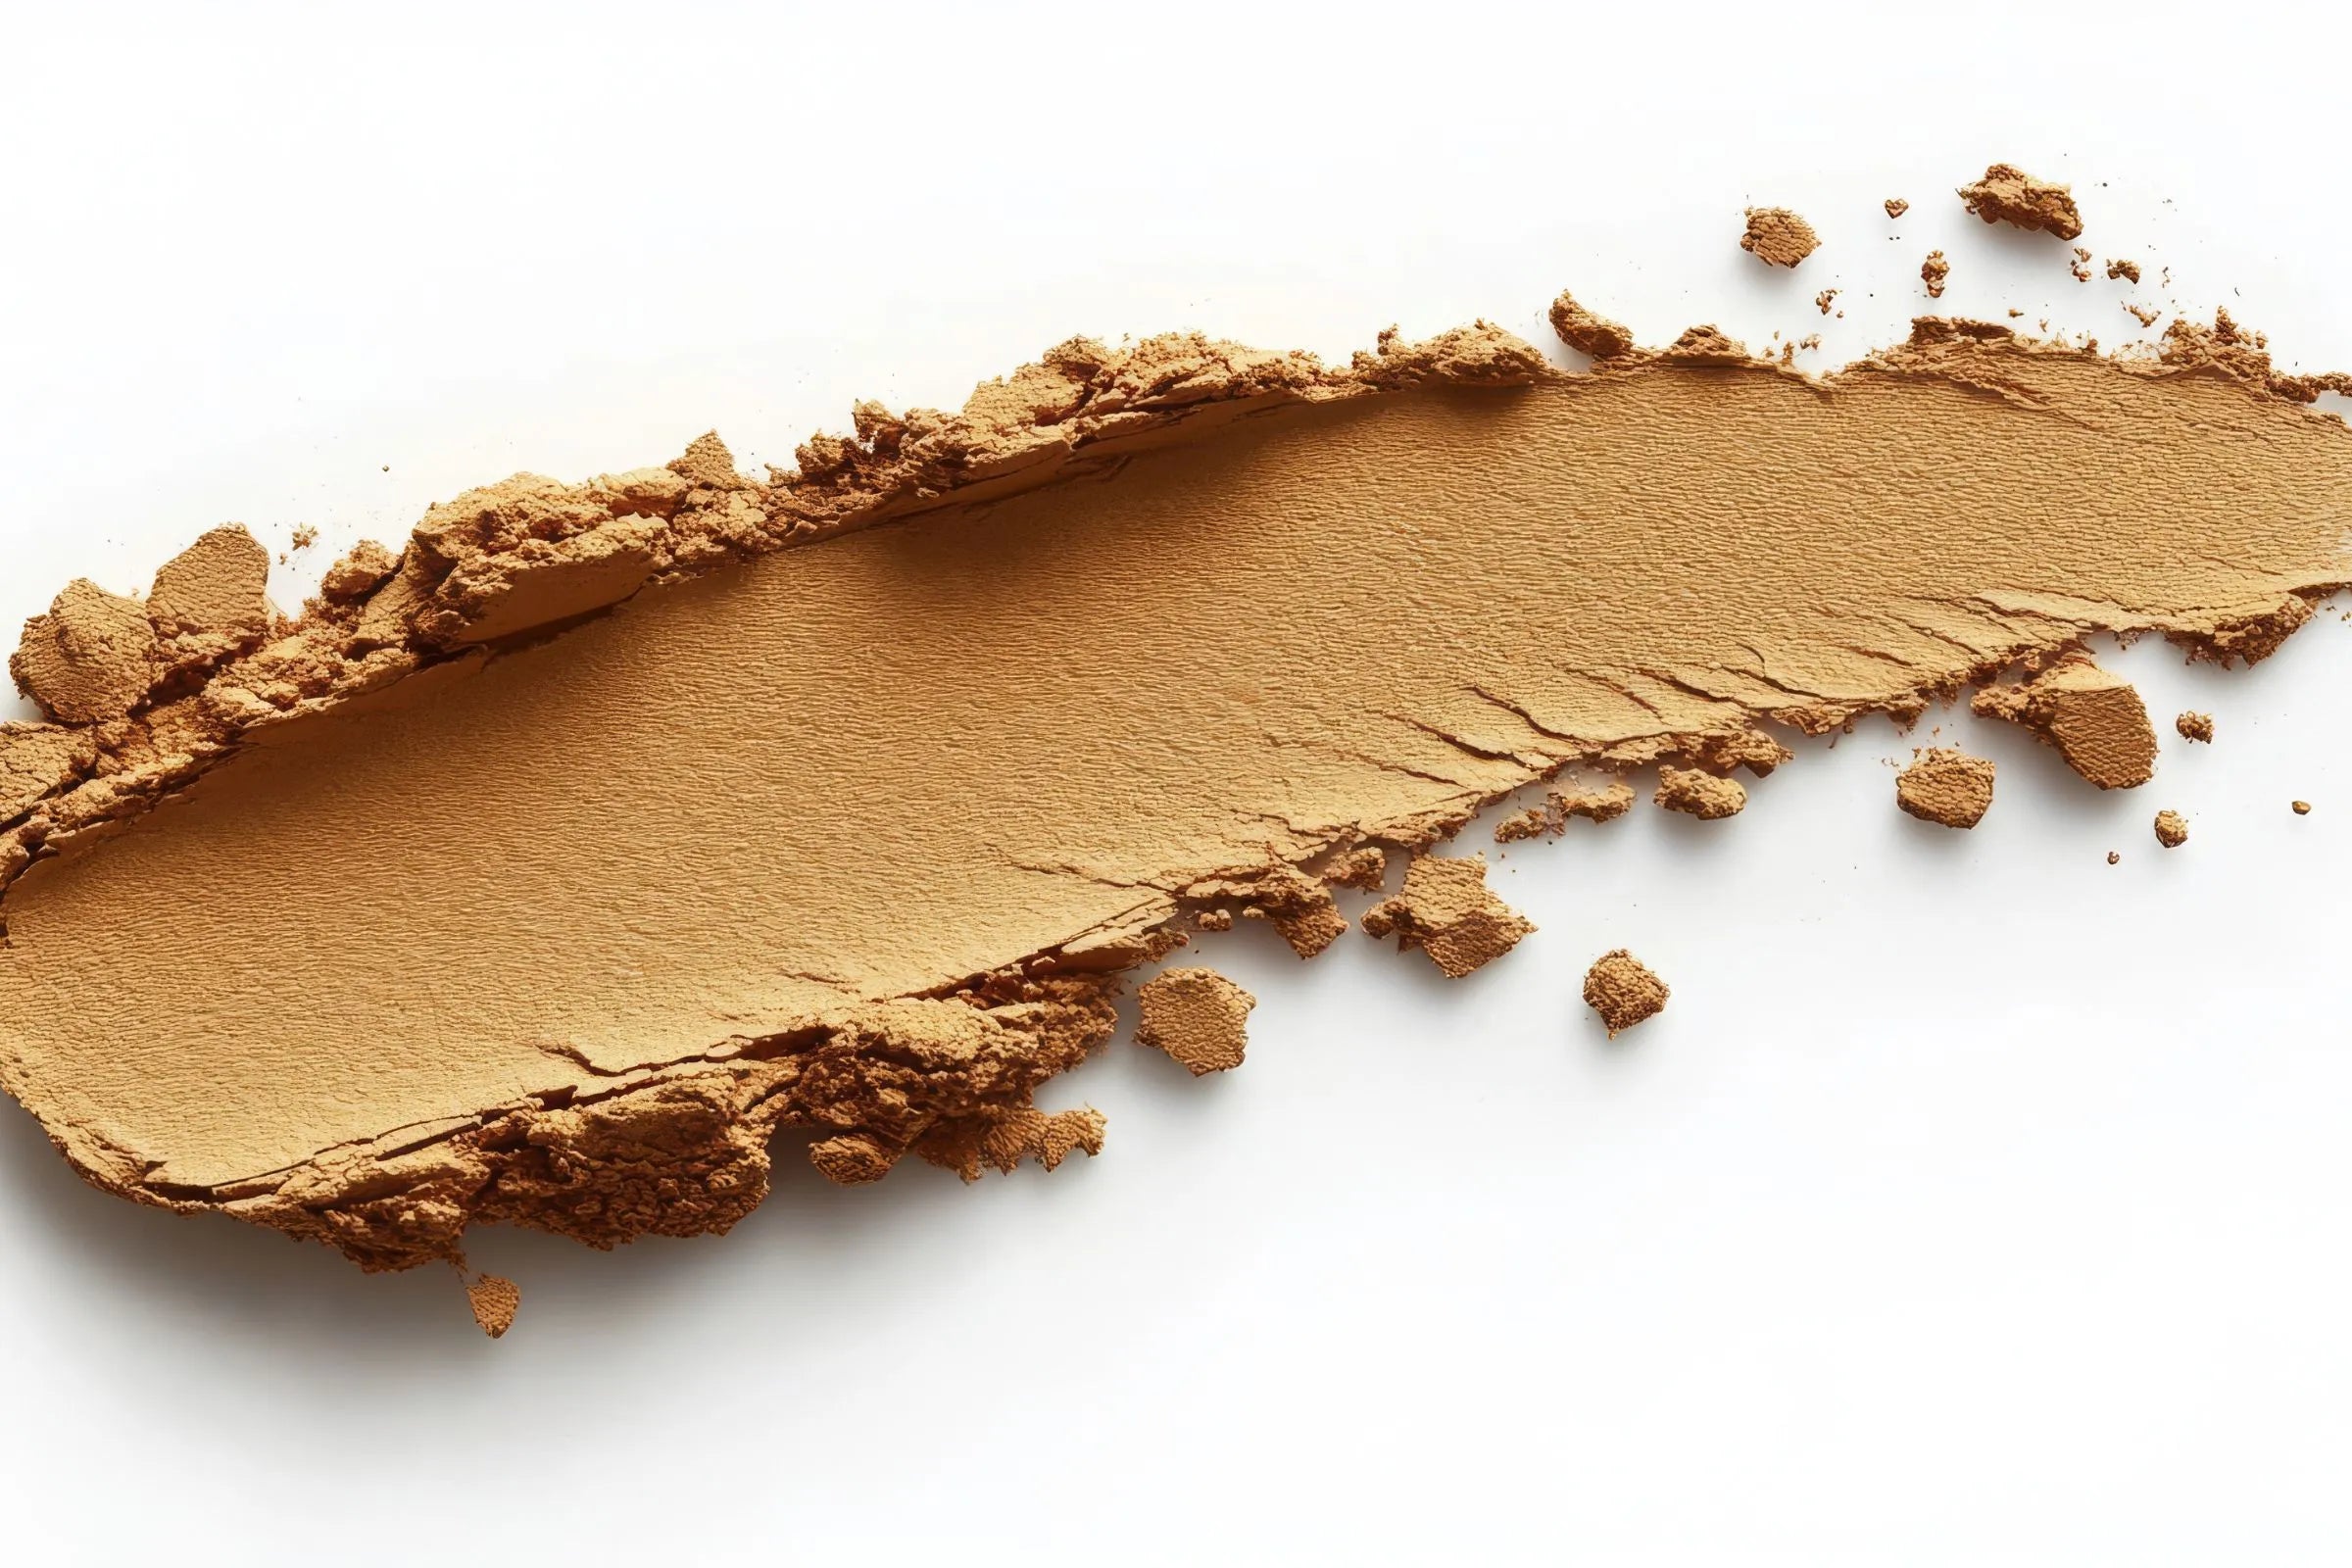
Bronzer: Your Contouring Workhorse The Cocoa Pigmented Bronzer serves as an ideal contouring product for beginners because it provides natural-looking depth without the harsh lines that dedicated contour products can create if applied incorrectly.
Bronzer is more forgiving than traditional contour shades because it mimics the natural color your skin develops with sun exposure, making it appear more natural even if application isn’t perfect.
Setting Your Work The Bamboo Blur Powder provides the perfect finishing touch for contoured looks, setting your work while adding a subtle blurring effect that smooths any imperfections in application. This talc-free formula won’t disturb your carefully applied contour while providing staying power.
Tools That Make the Difference The Non Latex Makeup Sponge is essential for seamless blending. Unlike brushes, which can sometimes create harsh lines or uneven application, a damp makeup sponge provides the gentle blending necessary for natural-looking contouring.
Face Mapping: Where to Contour for Your Face Shape
Understanding where to apply contour products based on your natural bone structure is crucial for creating flattering results. Rather than following generic templates, learn to work with your unique features.
Universal Contouring Areas Regardless of face shape, certain areas benefit from subtle contouring. The hollows of your cheeks (found by sucking in your cheeks slightly), the temples, and the perimeter of your forehead create natural shadow areas that can be enhanced.
For the jawline, apply contour along the underside of your jaw, blending downward to avoid creating an obvious line. This technique helps define the jaw without looking artificial.
Adapting to Your Bone Structure Rather than trying to dramatically change your face shape, focus on enhancing your existing bone structure. If you have prominent cheekbones, gentle contouring can make them even more striking. If your cheekbones are less defined, subtle application can create the illusion of more structure.
The Nose Contouring Approach Nose contouring is often considered advanced, but beginners can achieve subtle refinement by applying a small amount of bronzer along the sides of the nose, blending carefully to avoid harsh lines.
Forehead and Temple Definition For those with larger foreheads, gentle bronzer application along the hairline and temples can create the illusion of a smaller forehead while adding overall facial definition.
Step-by-Step Application for Natural Results
Successful contouring follows a specific order of operations that ensures smooth, blendable results. Each step builds on the previous one to create seamless definition.
Step 1: Perfect Your Base Begin with clean, moisturized skin and apply Fruit Pigmented® Cream Foundation using your Non Latex Makeup Sponge. Press the foundation into skin rather than rubbing, creating a smooth, even base that won’t be disturbed by subsequent product application.
Allow the foundation to set slightly before proceeding with contour products. This prevents muddying and ensures clean color placement.
Step 2: Strategic Concealer Placement Use Fruit Pigmented 2nd Skin Concealer to cover any blemishes that might interfere with smooth contour application. Also apply concealer under the eyes and on the center of the forehead, bridge of the nose, and chin—areas you’ll later highlight.
This creates a map of light and dark that will guide your contouring placement while ensuring your highlight areas are bright and clean.
Step 3: Bronzer Application Using a fluffy brush, apply Cocoa Pigmented Bronzer to the hollows of your cheeks, starting from the ear and blending toward the corner of your mouth. Stop about halfway to avoid bringing the color too close to your nose.
Apply bronzer to your temples, blending into the hairline, and along the jawline, focusing on the underside of the jaw rather than the jawline itself.
Step 4: Seamless Blending This is where your Non Latex Makeup Sponge becomes invaluable. Dampen the sponge and gently press it over all contoured areas, blending edges until there are no visible lines or patches.
The sponge’s soft texture and pressing motion create seamless transitions between your natural skin, foundation, and contour products.
Step 5: Setting and Finishing Lightly dust Bamboo Blur Powder over your entire face, paying special attention to contoured areas. This sets your work while adding a subtle blurring effect that perfects the overall finish.
Common Beginner Mistakes and How to Avoid Them
Understanding what not to do is just as important as learning proper technique. These common mistakes can turn subtle contouring into obvious, unflattering makeup.
Mistake 1: Choosing Colors That Are Too Dark Many beginners think contouring requires dramatically dark shades, but effective contouring should only be 1-2 shades darker than your natural skin tone. The Cocoa Pigmented Bronzer provides the perfect depth for most skin tones without being too intense.
Mistake 2: Applying Too Much Product Initially It’s always easier to add more product than to remove excess. Start with a light application and build gradually, checking your progress in natural light whenever possible.
Mistake 3: Forgetting to Blend Harsh lines are the biggest giveaway of amateur contouring. The Non Latex Makeup Sponge should be your best friend, used to blend every edge until the contour appears to emerge naturally from your skin.
Mistake 4: Ignoring Your Natural Bone Structure Trying to create bone structure that doesn’t exist often results in muddy, unnatural-looking contour. Work with your natural features rather than against them.
Mistake 5: Skipping the Setting Step Without proper setting with Bamboo Blur Powder, even perfectly applied contour can shift, fade, or become patchy throughout the day.

Tools and Techniques for Flawless Blending
The difference between professional-looking and amateur contouring often comes down to blending technique and tool choice. Understanding how to use each tool effectively transforms your results.
Makeup Sponge Mastery Your Non Latex Makeup Sponge should be damp but not dripping wet. Squeeze out excess water until the sponge feels soft and slightly bouncy. This texture provides the perfect amount of moisture for seamless blending without disturbing your base makeup.
Use pressing and rolling motions rather than wiping or dragging. Press the sponge into contoured areas and roll it slightly to blend edges, working from the center of the contoured area outward.
Brush Selection and Technique For initial product application, use a fluffy, angled brush that’s not too dense. Dense brushes can apply too much product and create harsh lines, while brushes that are too soft won’t provide enough control.
Apply bronzer with light, sweeping motions, building color gradually rather than trying to achieve full intensity in one application.
The Press-and-Lift Method After applying contour with a brush, use your Non Latex Makeup Sponge with a press-and-lift motion. Press the sponge into the contoured area and lift straight up, which blends the color while maintaining intensity.
This technique prevents the wiping motion that can remove too much product or create streaks.
Working in Sections Rather than contouring your entire face at once, work in sections. Complete one cheek entirely—application and blending—before moving to the other side. This prevents products from setting before you can blend them properly.
Advanced Tips for Natural-Looking Results
Once you’ve mastered basic application, these advanced techniques help create even more natural, professional-looking results.
Color Temperature Matching Choose contour shades that match your skin’s undertones. The Cocoa Pigmented Bronzer works for most skin tones because it has neutral undertones that don’t clash with either warm or cool complexions.
Strategic Highlight Placement Use Fruit Pigmented 2nd Skin Concealer or Fruit Pigmented® Long Last Concealer with Super Fruits one shade lighter than your natural skin tone to highlight the center of your forehead, bridge of your nose, under-eye area, and chin.
Connecting Your Contour Advanced contouring involves subtly connecting contoured areas to create cohesive facial definition. Gently blend contour from your cheekbones to your temples, and from your jawline to your neck to avoid obvious cutoff lines.
Seasonal Adjustments Adjust your contour intensity based on your current skin tone. In winter, when skin is lighter, use a lighter hand with bronzer. In summer, when skin is more tanned, you can use slightly more intensity.
The Final Check Always check your contouring in natural light before leaving the house. Indoor lighting can make contour appear perfect while natural light reveals areas that need additional blending or adjustment.
Troubleshooting Common Contouring Problems
Even with proper technique, contouring challenges can arise. Understanding how to fix common issues saves time and frustration.
Problem: Muddy or Gray-Looking Contour This usually indicates that your contour shade is too cool-toned for your skin or that you’ve applied too much product. Use the Non Latex Makeup Sponge to lift excess product, and next time choose a warmer-toned bronzer.
Problem: Contour Disappears Throughout the Day This suggests inadequate setting or incompatible products. Ensure you’re using Bamboo Blur Powder to set your contour, and check that your foundation and contour products work well together.
Problem: Harsh Lines More blending is needed. Use your Non Latex Makeup Sponge to soften all edges, and remember that effective contouring should have no visible lines—only gentle gradations of color.
Problem: Contour Looks Orange Your bronzer may be too warm for your skin tone, or you may be applying too much. The Cocoa Pigmented Bronzer has neutral undertones that prevent this common issue.
Conclusion: Embrace Your Enhanced Natural Beauty
Contouring is an art form, but it doesn’t have to be intimidating or time-consuming. With the right products—like Fruit Pigmented® Cream Foundation for your base, Cocoa Pigmented Bronzer for natural depth, and the Non Latex Makeup Sponge for seamless blending—you can achieve professional-looking results at home.
Remember that the goal of contouring isn’t to completely change your appearance but to enhance your natural bone structure and create subtle definition. Understanding what is contour makeup and how to define contouring in terms of enhancing rather than altering helps set realistic expectations and ensures beautiful results.
The relationship between concealer vs foundation becomes clear in contouring: foundation creates your canvas, while concealer provides targeted coverage and highlighting that supports your contour work. Products like Fruit Pigmented 2nd Skin Concealer and Fruit Pigmented® Long Last Concealer with Super Fruits serve specific purposes in creating a flawless, contoured look.
Your Non Latex Makeup Sponge is perhaps the most crucial tool in your contouring arsenal, as proper blending makes the difference between obvious makeup and natural-looking enhancement. Master the pressing and rolling techniques, and you’ll achieve seamless results every time.
Most importantly, practice makes perfect. Start with subtle applications and gradually build your skills and confidence. What is contour, ultimately, but a way to celebrate and enhance your unique facial structure? Embrace the process, enjoy the results, and remember that the best contouring is the kind that makes people compliment your natural beauty rather than your makeup skills.
With clean, effective products and proper techniques, contouring becomes a enjoyable part of your beauty routine that enhances your confidence and highlights your best features every day.
Frequently Asked Questions
What is the difference between bronzer and contour? Bronzer like Cocoa Pigmented Bronzer is designed to mimic a natural tan and add warmth, while dedicated contour products are typically cooler-toned to mimic natural shadows. Bronzer is more forgiving for beginners because it looks natural even if application isn’t perfect.
How do I choose the right contour shade for my skin tone? Your contour shade should be 1-2 shades darker than your natural skin tone with neutral or slightly cool undertones. The Cocoa Pigmented Bronzer works for most skin tones because of its balanced undertone that doesn’t appear orange or ashy.
Should I use cream or powder products for contouring? Beginners often find powder products like Cocoa Pigmented Bronzer easier to blend and more forgiving. Cream products can be used with Fruit Pigmented® Cream Foundation but require more skill to blend seamlessly without disturbing the base.
How do I know if I’m applying too much contour? If you can see obvious lines, if the color looks muddy or unnatural, or if people comment on your makeup rather than how good you look, you’re likely applying too much. Start light and build gradually using your Non Latex Makeup Sponge for blending.
Can I contour without highlighting? Yes! Subtle contouring with just bronzer can be very effective. However, strategic highlighting with Fruit Pigmented 2nd Skin Concealer enhances the contour effect by creating more dramatic light-and-shadow contrast.
How long should contouring take? For beginners, allow 10-15 minutes for application and blending. As you improve, basic contouring can be completed in 5-7 minutes. Remember that thorough blending with your Non Latex Makeup Sponge is more important than speed.